Lesson 8 - Animation and the 3D Pipeline
Animation in Blender
Time
Animation is a change of states over a certain amount of time. To create the illusion of movement on film we need to show the human eye a certain number of images per second. It turns out that at about 24 frames per second the human eye doesn’t see the single images anymore but perceives the different images as a fluid movement instead. A flipbook is the most basic example of this behaviour.
To create animation we therefore need to create multiple images within our 3D Software that when played back at the speed of 24 frames per second (fps) will be perceived as a “moving image” / movie.
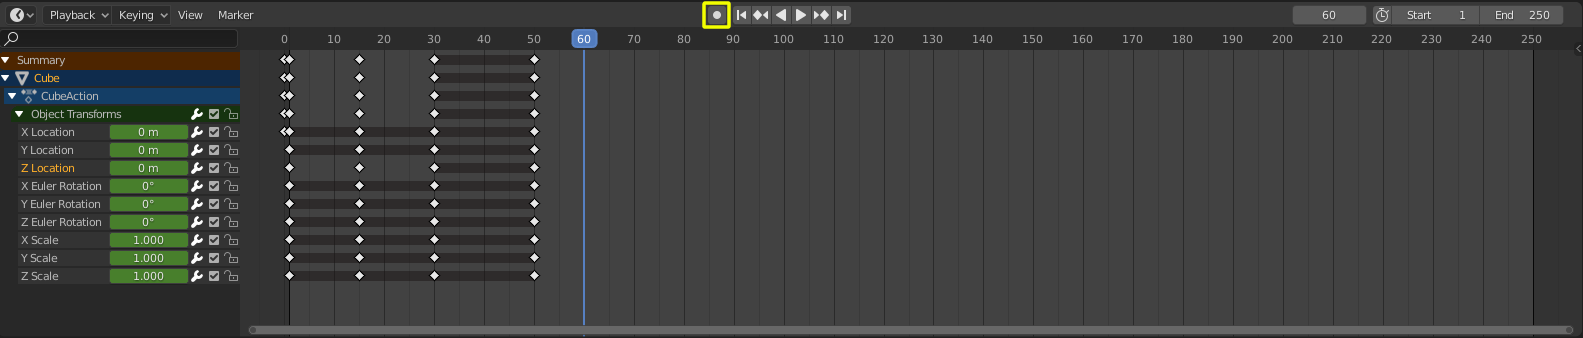
In Blender the default playback speed or fps is set to 24 frames by default. When you hit Hotkey: Spacebar in Blender to move the Playhead (Blue in the image below) in the timeline it will move with a speed of 24 frames per second.

Blenders Timeline Editor with the blue Playhead and a few diamond shaped grey and yellow Keyframes.
- Blender Manual Link:
- Animation Links:
Timeline / Dopesheet
The Timeline and Dopesheet Editor in Blender give us a quick overview of the Keyframes that are on the objects we have selected in the 3D View. The Timeline contains a simple onedimensional graph that in its x-axis displays the frame numbers. With the blue Playhead we can select the frame we want to view in our 3D Viewport. Once we have set Keyframes and placed them at specific frames in our timeline we will also be able to observe interpolated changes between them in the 3D View.
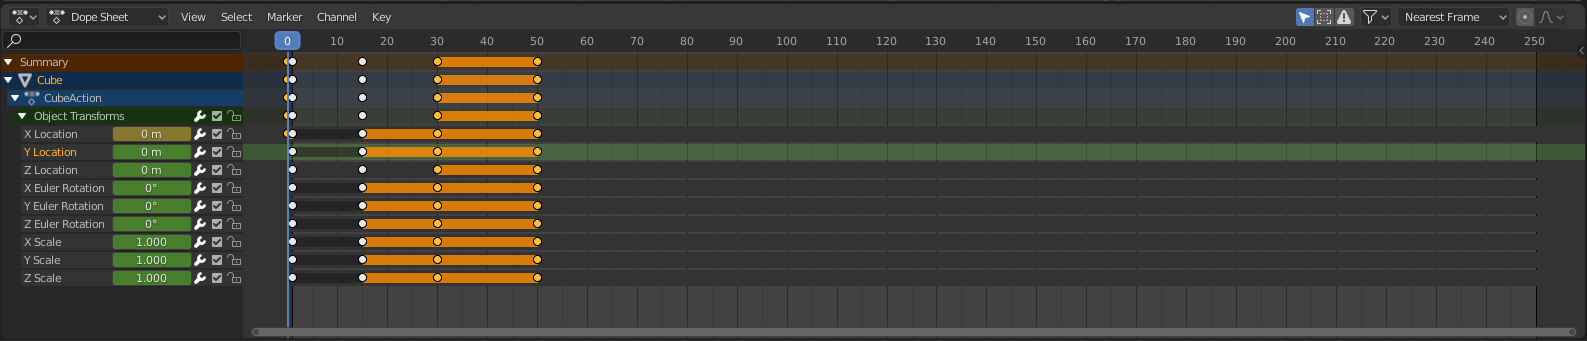
Blenders Dopesheet Editor looks very similar to the Timeline Editor but gives us access to different useful tools and shows the state of keyframes with different shapes (circles, rectangles, etc.)
- Blender Manual Link:
Keyframes
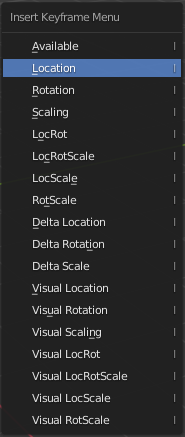
Keyframes contain states of how you want objects and parameters to be at a point in time. We can set Keyframes in Blender by pressing Hotkey: I and selecting which parameters we want to key from the floating menu that pops up. The keyframe recording the current state of the selected object will be inserted into the timeline at the frame that is currently selected with the blue Playhead.
Instead of using this manual way of inserting keyframes we can also use AutoKey Mode. When Autokey Mode is on every time we make a change to a parameter of an object, that is animateable Blender will automatically insert a keyframe at the position of the playhead.
Note
- While animating try to make changes in the following order to prevent errors:
- Move the Playhead to the frame you want to insert the keyframe at
- Make the changes to the parameters you want to animate (Position, Rotation, Scale, etc.)
- Insert the Keyframe (or have it automatically inserted by Autokey Mode)
- Blender Manual Link:
Graph Editor
If we want more control over how the 3D Software interpolates between our created keyframes we can use the Graph Editor. The Graph Editor shows us the Function Curves (F-Curves) of the animation. Its 2-Dimensional graph plots the current frame on the X-Axis and the values of the selected channel on the Y-Axis. This means the curves in the Graph Editor are graphing how fast the values between two keyframes are changing. The slope of the graph shows us the rate of change, the steeper the faster the values increase or decrease the shallower the slope the slower the values increase or decrease.
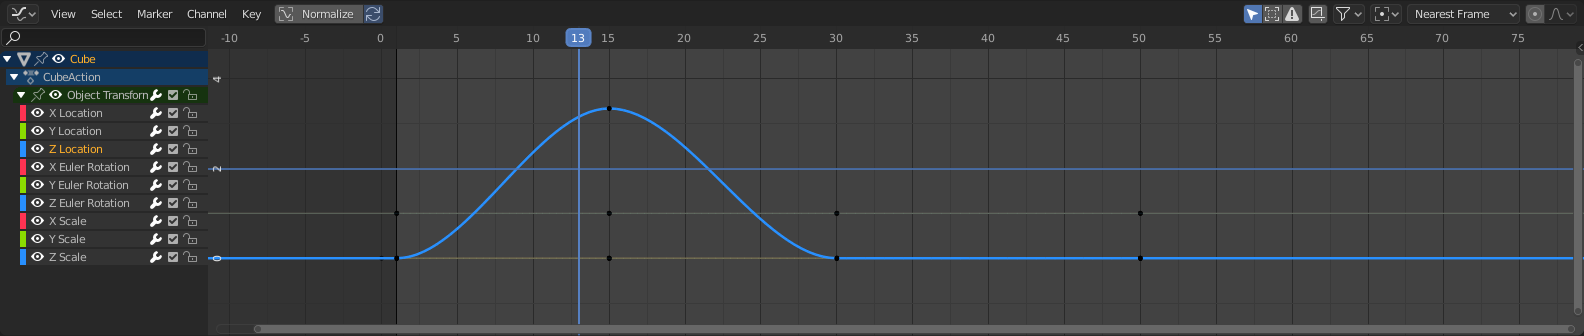
Blenders Graph Editor showing multiple F-Curves in it 2 dimensional x-y-graph.
- Blender Manual Link:
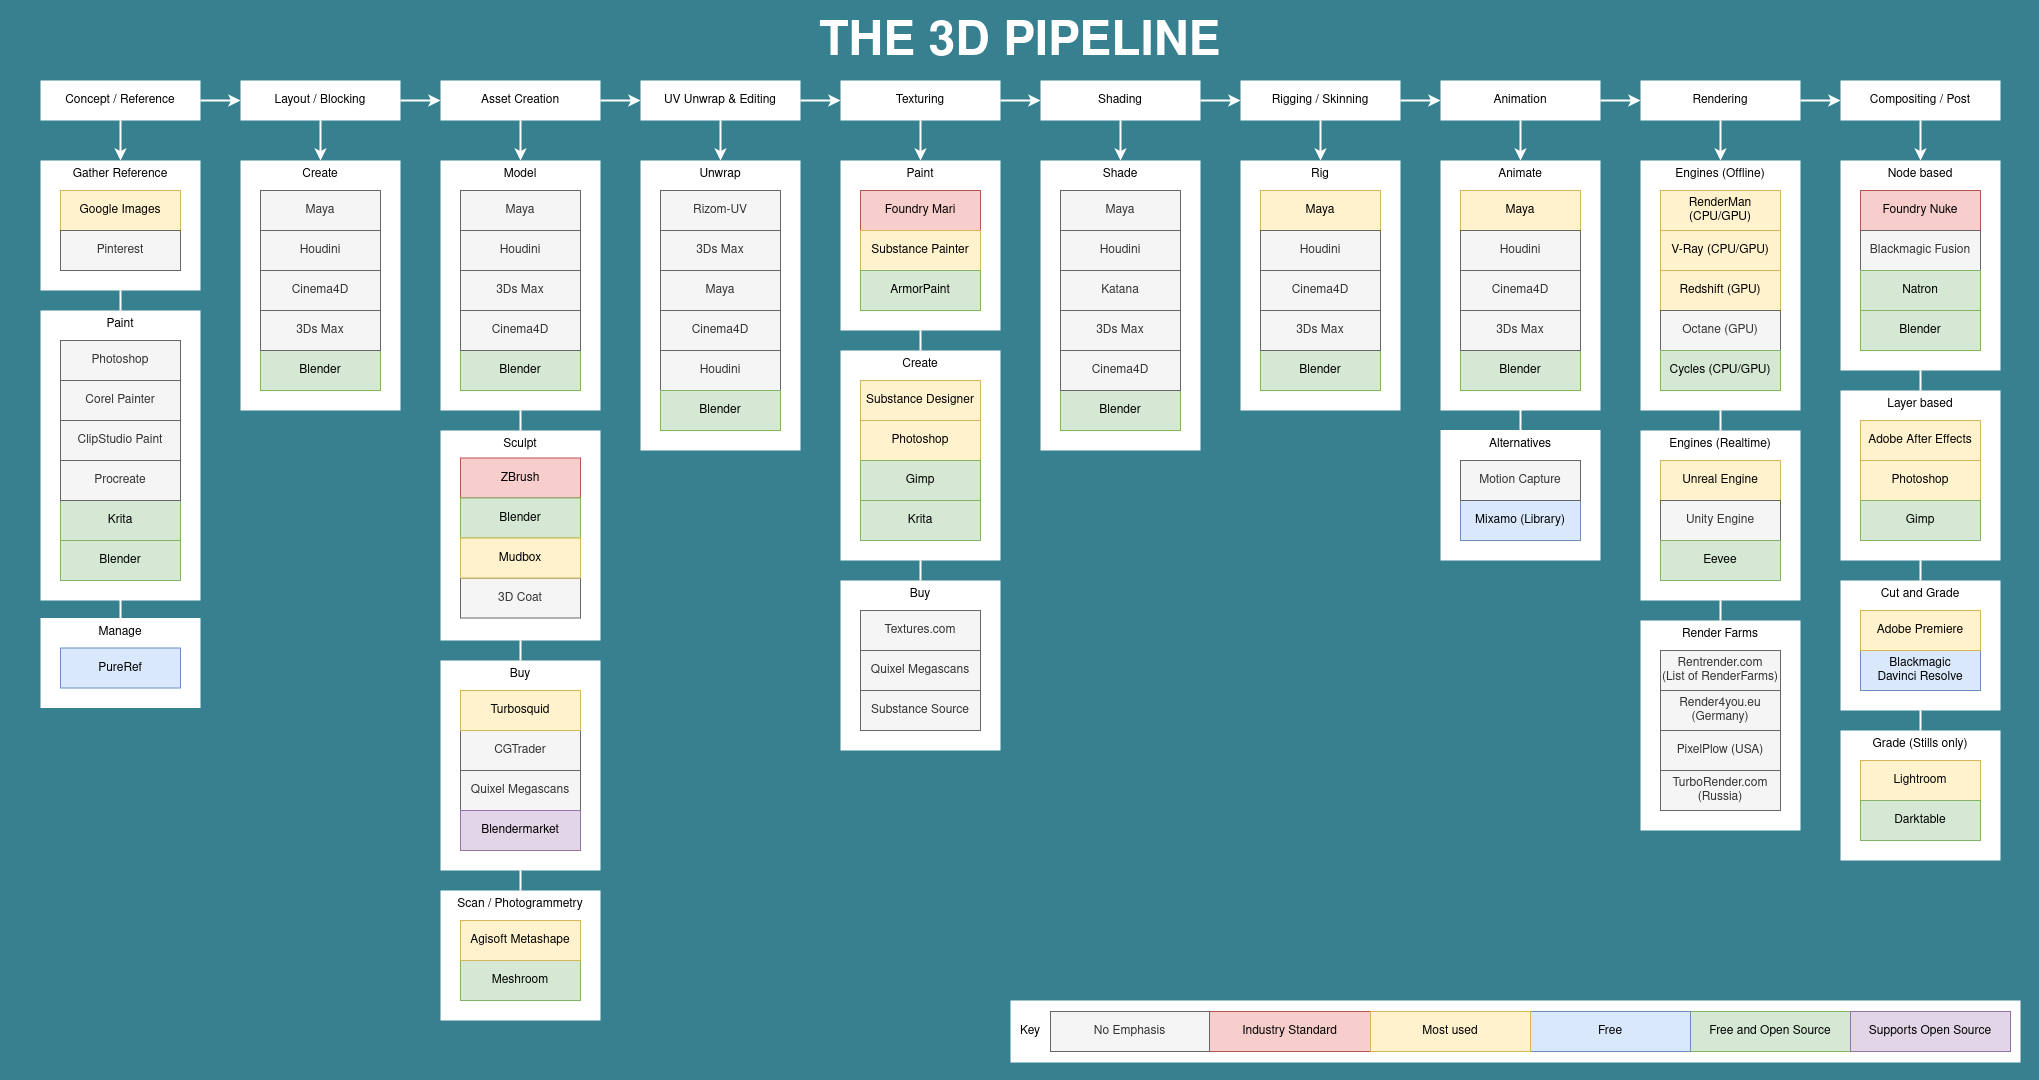
The 3D Pipeline and Software
Below is a graphic showing all the steps of the 3D Pipeline for creating an animated movie. Most VFX or Animation Movie production crews follow the steps and use the software listed in the image below. You can use the chart to find software packages for each step in the pipeline or other resources that are very useful for the completion of each stage.
The chart always lists at least one free or open source software package for each of the steps of the pipeline if you want to try it out first without investing any money.
Resources
- Blender Training:
- Training by industry professionals:
- Gameart / Gamedev:
- Porfolio websites:
- Lighting:
- Substance Designer:
- Sculpting:
- ZbrushCentral
- ZClassroom | Free ZBrush Training
- Ryan Kingslien | Sculpt Face using Ecorche (Good Zbrush and general sculpting youtube channel)
- Yan Sculpts | Blender sculpting youtube channel