First Steps
First startup
During the first blender startup it will ask you for some basic settings. Choose the following to guarantee we all have the same setup and that instructions in the next chapters are accurate.
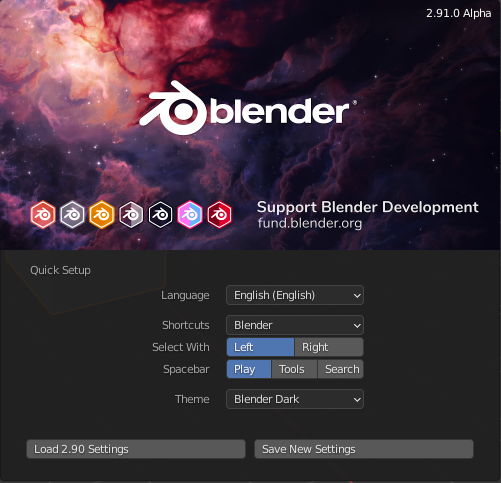
In case you already started Blender before or chose the wrong settings by accident, you can either change them in blender preferences or set everything back to the state it’s in before the first blender startup by deleting the userprefs.blend file in blenders Application Settings.
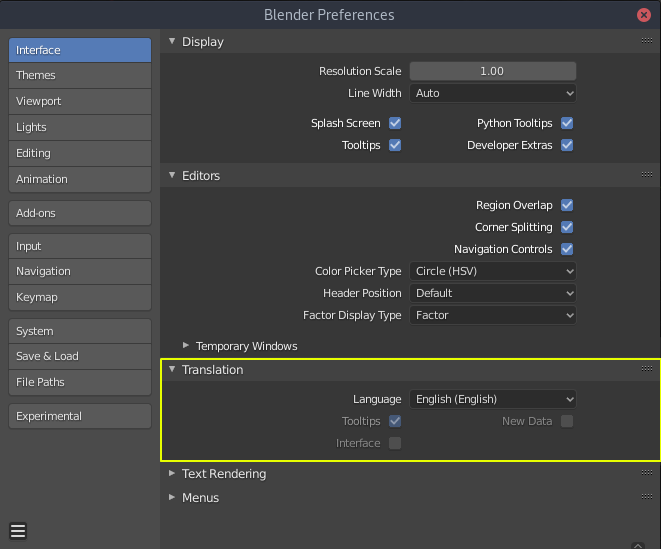
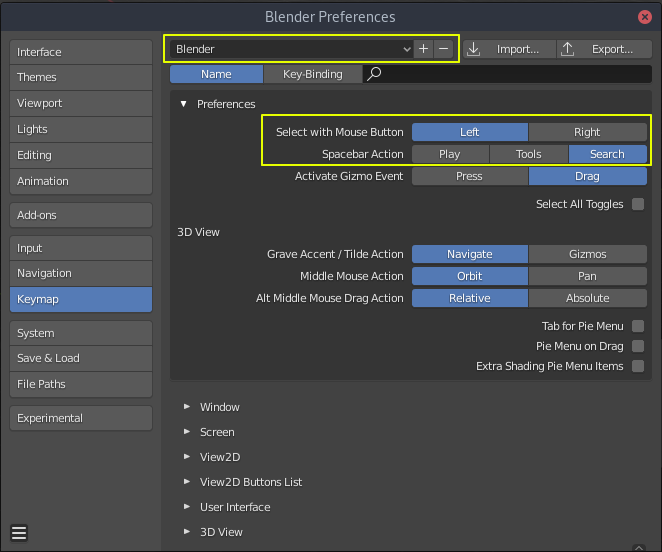
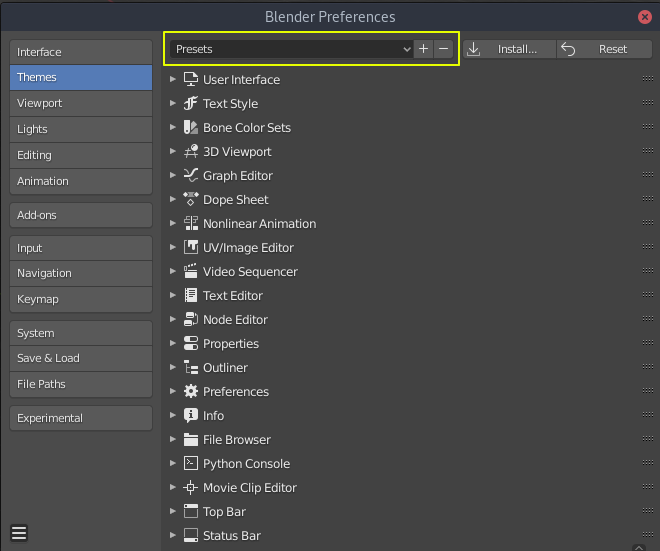
Changing the settings in the blender preferences
- Images (Click for fullsize)
Resetting blender application settings
Delete the userprefs.blend file in the config folder in the blender application settings folder. Blender application settings folder paths for each operating system are listed below.
- Blender application settings locations:
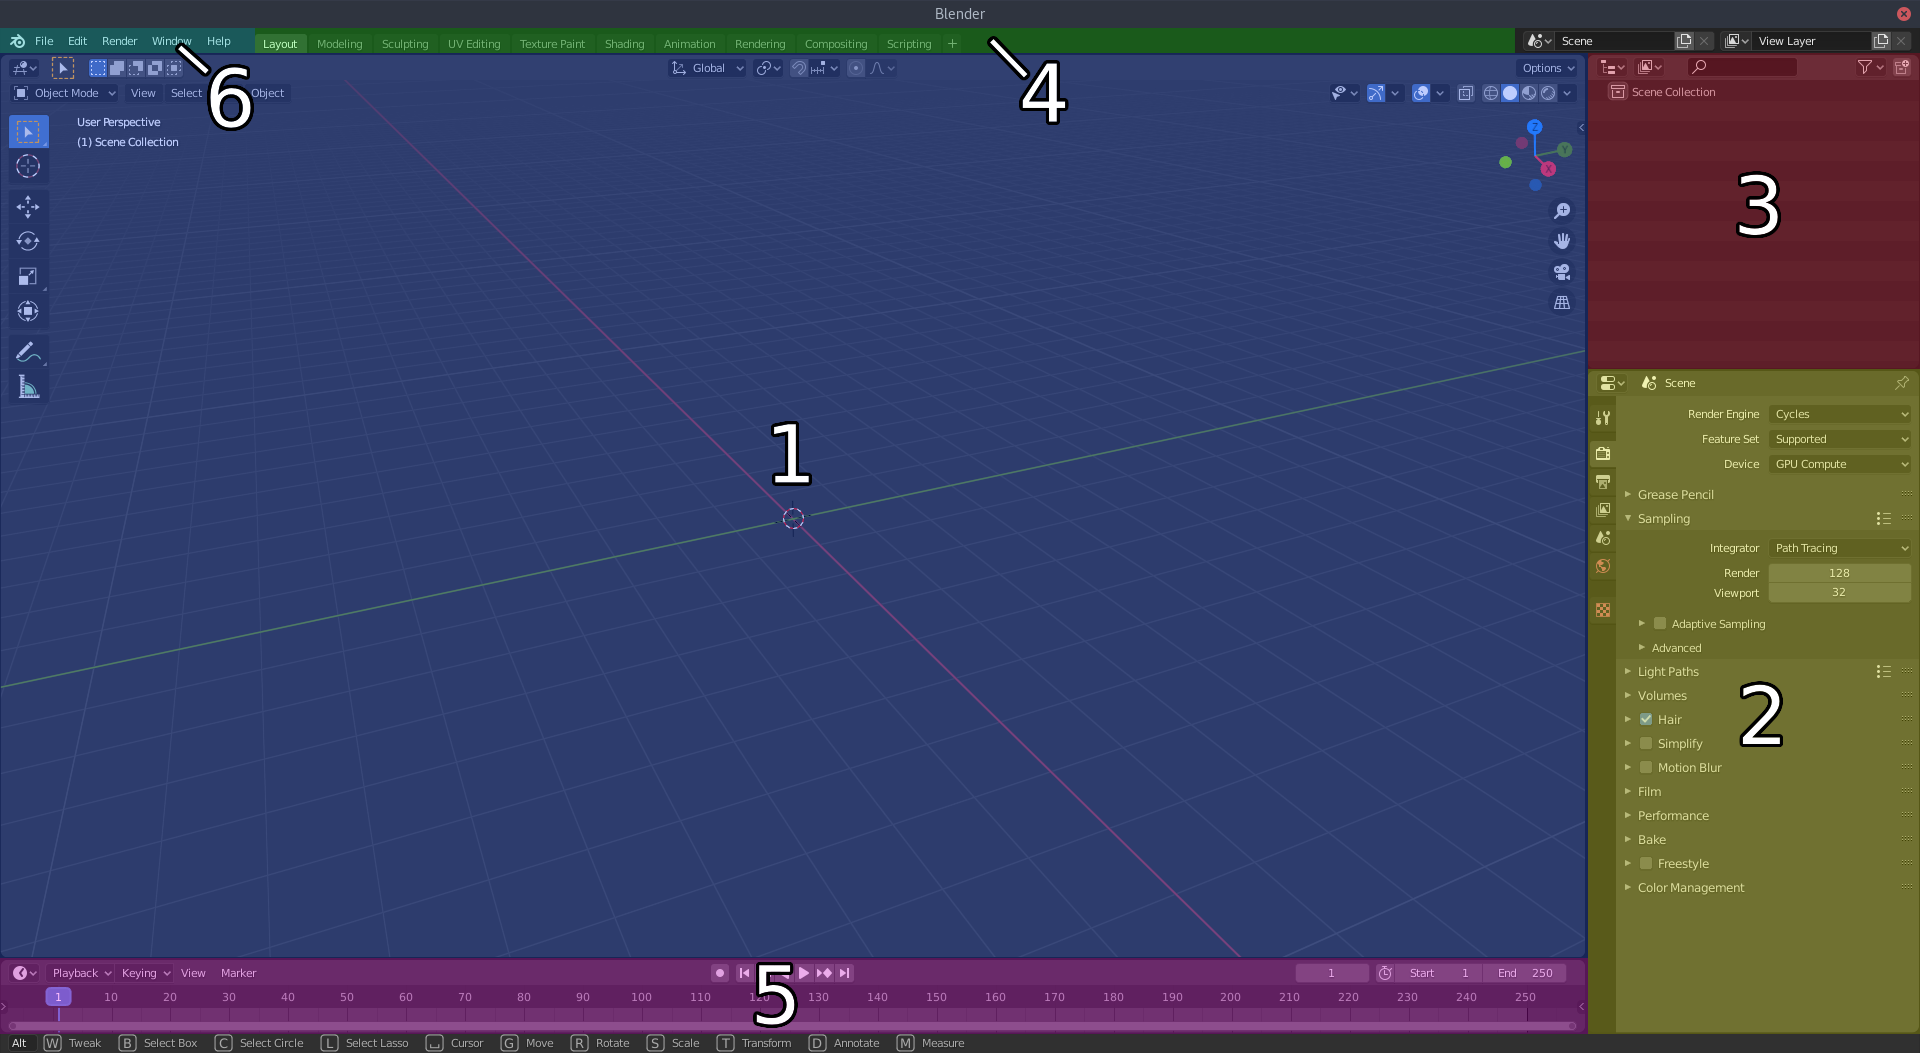
General User Interface (GUI) Overview
This overview lists the most prevalent user interface elements so you get an understanding of the basic building blocks of blender. We will use the Layout Workspace in this overview because in the beginning we will spend most of our time in this Workspace.
Note
Further chapters will use the names listed below, so learn them by heart.
- Interface Sections names:
- Main Panel (3D Viewport) [Blue]
- Properties Panel [Yellow]
- Outliner Panel [Red]
- Workspace List [Green]
- Timeline Panel [Pink]
- Topbar Menu [Teal]
If you’re looking for a more thorough overview of all the different user interface elements please refer to the official Blender Manual by clicking on the link below:
- Blender Manual Link:
- Blender Manual | User Interface
3D Viewport Navigation
This section describes basic 3D Viewport navigation shortcuts for blender. These are needed for very basic scene navigation and can be adjusted to work like navigation does in other 3D Software packages, but we will describe the blender defaults here.
| Orbiting the Camera/Viewport | Panning the Camera/Viewport | Dollying the Camera/Viewport |
|---|---|---|
 |
 |
 |
| Key Combination: | Key Combination: | Key Combination: |
| MiddleMouse-Drag | MiddleMouse-Drag + Shift | MiddleMouse-Drag + Ctrl or MouseWheel |
Settings up a better startup file
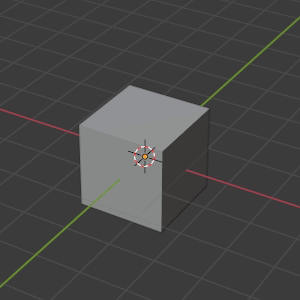
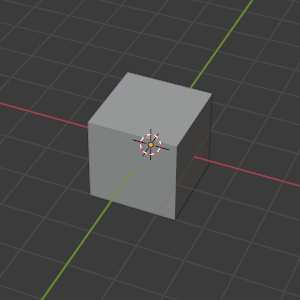
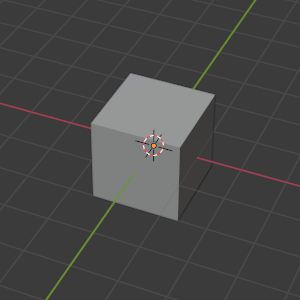
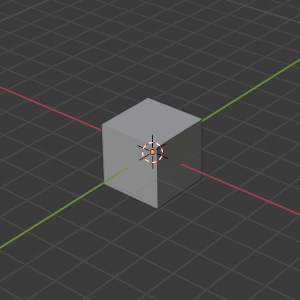
The default blender startup file contains the legendary default cube, a camera, and a sun lamp object. If you look at the Outliner on the right hand side you will see, that all these objects are grouped inside a Collection named ‘Collection’.
Most of the time we will just delete these objects and the Collection when we fire up blender. So we will save a completely empty startup file to save us some time at the start of every blender session.
- Delete the Cube, Camera and Sun Lamp by LeftClick-Drag boxselecting them in the 3D Viewport and press Hotkey: X or Hotkey: Del to delete them from the scene.
- Remove the now empty Collection “Collection” by selecting it in the Outliner and hit Hotkey: X or Hotkey: Del while hovering the mouse over the outliner to delete it.
- Use the File Topbar-Menu and navigate to File >> Defaults >> Save Startup File. Click it to save the current file and it’s state as default file that gets loaded everytime you open blender or create a new file.
Note
Hovering the Mouse over the specific panel we want to make an action happen in is very important in blender. As focus switches to the panel the mouse is hovering over!.
Object Creation
To create objects in the 3D Viewport you need to open the Add-Menu in the top left corner of the 3D Viewport. The Add-Menu contains all createable objects and is your one-stop-shop for adding objects to your current scene.
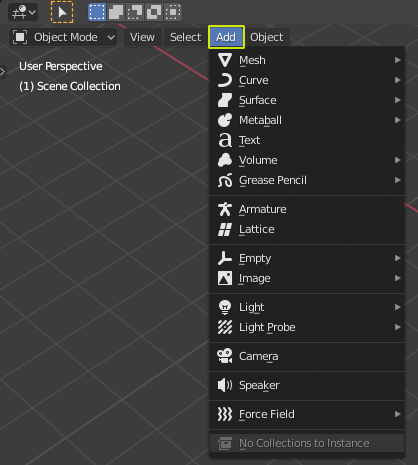
You can also press the Hotkey: Shift + A to open the Add-Menu right where your mousecursor is for quicker access.
Once you selected an object to be created there will be a floating window in the lower left corner of the 3D Viewport that contains settings for the primitive. You can customize the primitive there.
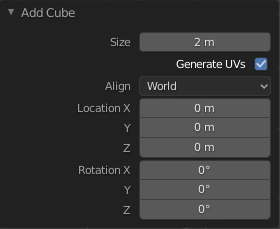
Warning
As soon as you click in the viewport the options window in the bottom left will close and you will not be able to adjust your primitive anymore. So make sure you have everything set up to your liking before you click anywhere.
Object Manipulation
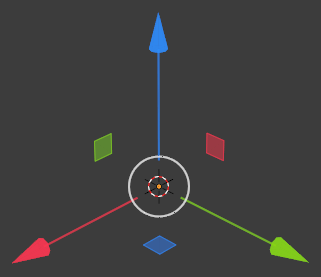
Blender has featured gizmo less object manipulation for a very long time, but this mode of object manipulation without a 3D-Axis-Gizmo is not very common and might be a feature that takes some time getting used to if you’re coming from other 3D Apps. For this reason the 2.80 version of blender also added the option to use 3D-Axis-Gizmos for object manipulation.
If you’re asking yourself “WTF is a Gizmo?” right now, then dont worry. This is a gizmo (Translation/Move Gizmo):
Manipulation without Gizmo
Manipulation without Gizmo is hotkey driven. The Hotkeys for each manipulation mode are shown below. After activation of Grab, Rotate or Scale Mode you can constraint the transformation to a single axis by pressing Hotkey: X, Y or Z while the tool is active.
If you want to constraint the transformation to one of the 3D-Planes (XY-Plane, XZ-Plane, YZ-Plane) you can press Hotkey: Shift + X|Y|Z to constrain to the 3D-Plane that doesn’t contain the Axis you pressed. Think of it as if you are exlcuding the Axis from the transform.
>> Example: Pressing Shift + Z will constrain to the XY-Plane
| Grabbing/Moving the Object | Rotating the Object | Scaling the Object |
|---|---|---|
 |
 |
 |
| Key Combination: | Key Combination: | Key Combination: |
| G + Mouse-Drag | R + Mouse-Drag | S + Mouse-Drag |
| After the Tool is active: | After the Tool is active: | After the Tool is active: |
| X, Y, Z for Axis constraints | X, Y, Z for Axis constraints | X, Y, Z for Axis constraints |
| Shift + X|Y|Z for Plane constraint | Shift + X|Y|Z for Plane constraint | Shift + X|Y|Z for Plane constraint |
| RightMouse to Cancel the transform | RightMouse to Cancel the transform | RightMouse to Cancel the transform |
Note
While gizmoless object manipulation might take some time getting used to it is way faster than using a gizmo to manipulate objects in almost all cases.
Manipulation with Gizmo
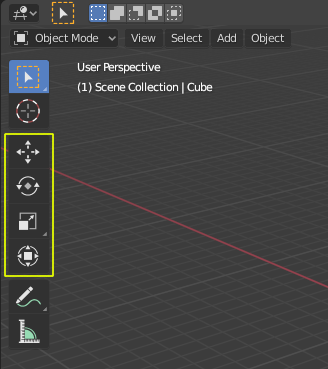
If you want to use a 3D-Axis-Gizmo for object translation, rotation and scale instead you can find them on in the Toolbar on the left side of the 3D Viewport. As marked in the image below there are four 3D-Axis-Gizmo tools available. A Move, a Rotate, a Scale and a Transform Gizmo which combines Move, Rotate and Scale into one Gizmo for quicker access to the different transform modes.
| Gizmo | Demo | Hotkeys |
|---|---|---|
| Move-Tool | 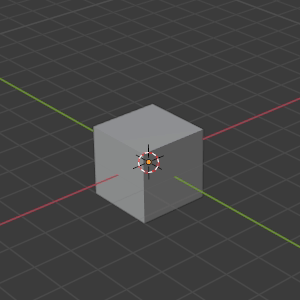 |
RightMouse to cancel the transform |
| Rotate-Tool |  |
RightMouse to cancel the transform |
| Scale-Tool |  |
RightMouse to cancel the transform |
| Transform-Tool |  |
RightMouse to cancel the transform |
Precise Manipulation
While you are in you are in one of the gizmoless modal transform modes (Hotkeys: G, R, S) you can type in number values to get a precise transform, rotation or scaling. This also works if you use the gizmos to manipulate objects but you will have to hold down the LMouse-Button the whole time.
Tip
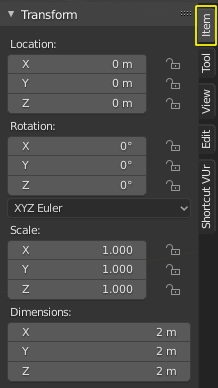
Another great way to see the Location, Rotation, Scale and Dimensions of your active object is to open the 3D Viewports Sidebar Menu (Hotkey: N). The Item submenu in the Sidebar Menu contains multiple slider/number inputs that let you accurately position, rotate and scale your object (shown below).
Viewport Hotkeys and the Numpad
A lot of blenders functionality is bound to the number keys on the numpad. Orthographic views, Isolation mode, Zoom to selected object, are all functions that are bound to numpad keys.
| Hotkey | Function |
|---|---|
| Numpad 1 | Front Orthographic Viewport |
| Numpad 2 | Rotate Viewport Down |
| Numpad 3 | Right Orthographic Viewport |
| Numpad 4 | Rotate Viewport Left |
| Numpad 5 | Toggle between Perspective and Orthographic Viewport |
| Numpad 6 | Rotate Viewport Right |
| Numpad 7 | Top Orthographic Viewport |
| Numpad 8 | Rotate Viewport Up |
| Numpad 9 | Toggle Opposing Orthographic Viewport (Top/Bottom, Right/Left, Front/Back) |
| Numpad . | Zoom to selected objects |
| Numpad / | Isolate selected objects |
| Numpad - | Zoom out |
| Numpad + | Zoom in |
For Those without Numpads
Now if you don’t have a numpad because you are on a laptop or using a 60% or 80% keyboard, which are all missing the numpad, you can either, tell blender to treat your normal number keys as if they were your numpad or activate an addon that ships with blender to access all that functionality via a PIE-Menu.
Both of those ways are described below
Emulating the Numpad with the numberkeys
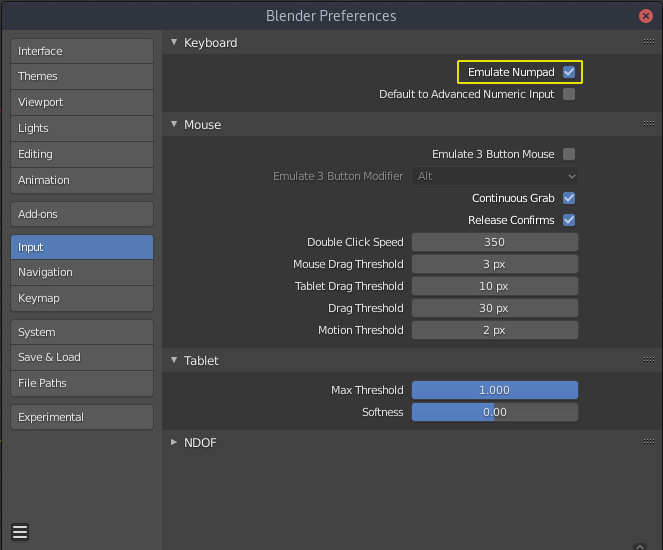
- Open the Preferences with Edit >> Preferences… or F4 >> Preferences…
- Click on the Input Tab on the left
- Tick the Emulate Numpad Checkbox all the way at the top
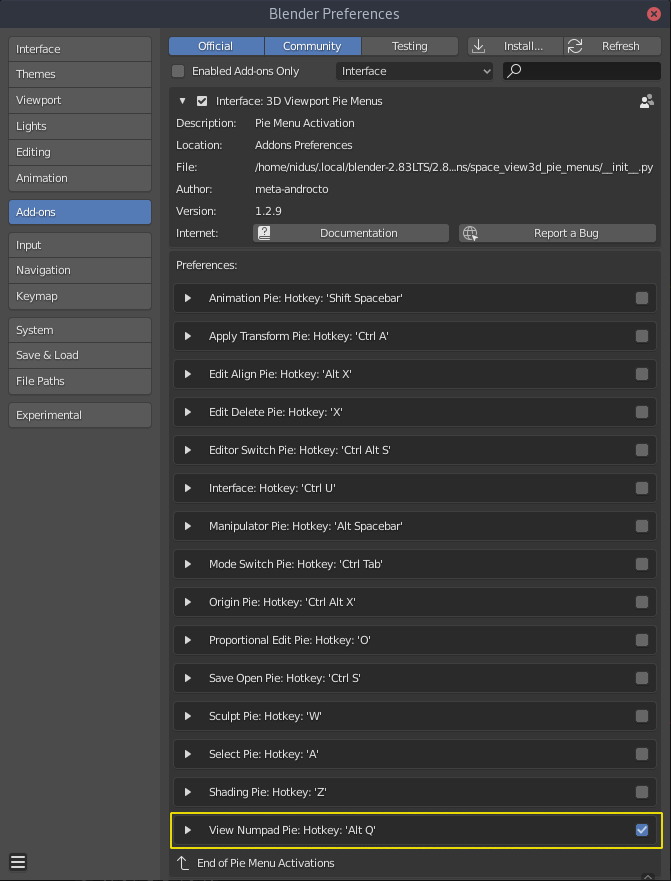
Activating the Viewport Pie Menu addon
- Edit >> Preferences… or F4 >> Preferences…
- Open the Add-ons tab by clicking on it on the left hand side
- Use the search bar on the right to look for the 3D Viewport Pie Menus Addon
- Activate it by ticking on the checkbox on the left of the Addon Entry
- Open the Addons Preferences by clicking on the little triangle arrow left of the checkbox
- Disable/Uncheck all menus listed in the preferences except the very last one
Note
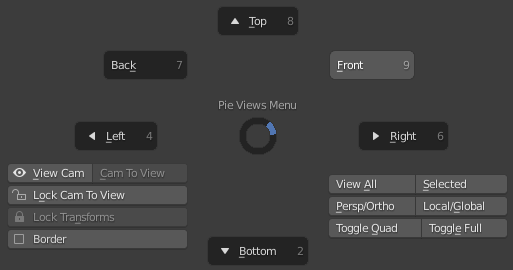
After activating the addon and the View Numpad Pie you can call it up around your mouse by pressing [Hotkey: Alt + Q]
Changing Keybinds
If we really need to we can also change the hotkey a command is on by modifiying blenders Keymap
- Edit >> Preferences… or F4 >> Preferences…
- Open the Keymap tab by clicking on it on the left hand side
- Use the search bar on the right to find the command you want to change the keybind on by typing its name
- Look for the right command in the search results below and make sure it is in the right context (Context is the line with the litte dot in front of it)
- Set the modifier keys by clicking on them on the bottom right and the keybind by setting it in the text input field in the top right of the entry.
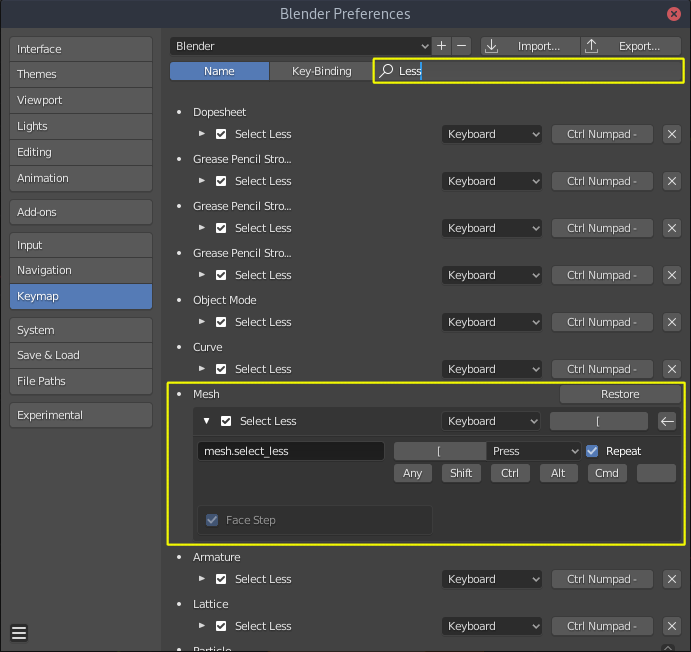
Image showing the Select Less Keybind in a modified state where it is bound to Left Bracket [ without modifier keys.