Lesson 6 - Materials and UVW
UVW-Space
In addition to our XYZ-Coordinate 3D Space there is a second UVW-Coordinate Texture Space in which the U and V Coordinate represent the width (X) and height (Y) and the W Coordinate represents the depth (Z). Most of the time we will use only the UV-Coordinate pair to create a mapping between the 2-Dimensional UV-Coordinates and the XY-TangentSpace-Coordinate of our mesh.
What are UVW’s
In most cases a UVW-Mapping or UVW-Unwrapping is a 2-Dimensional flat representation of our 3-Dimensional mesh, and uses only the U and V Coordinate. That’s why its often only called UV-Unwrapping or UV-Mapping. Each Vertex in the 2-Dimensional UV space maps to a 3-Dimensional vertex on our mesh. This enables us to map/paint 2D Textures/Images onto our 3D meshes and control how exactly they look no our 3D Faces.
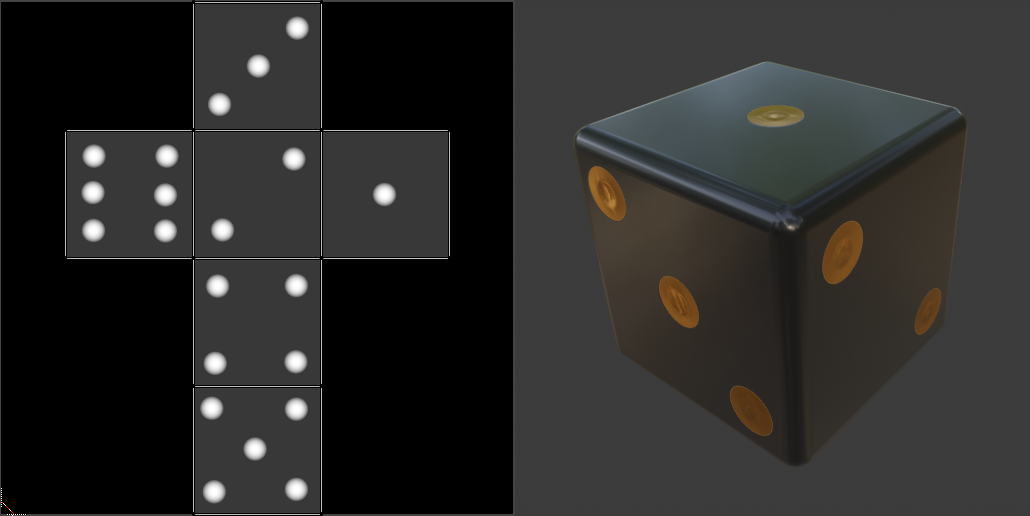
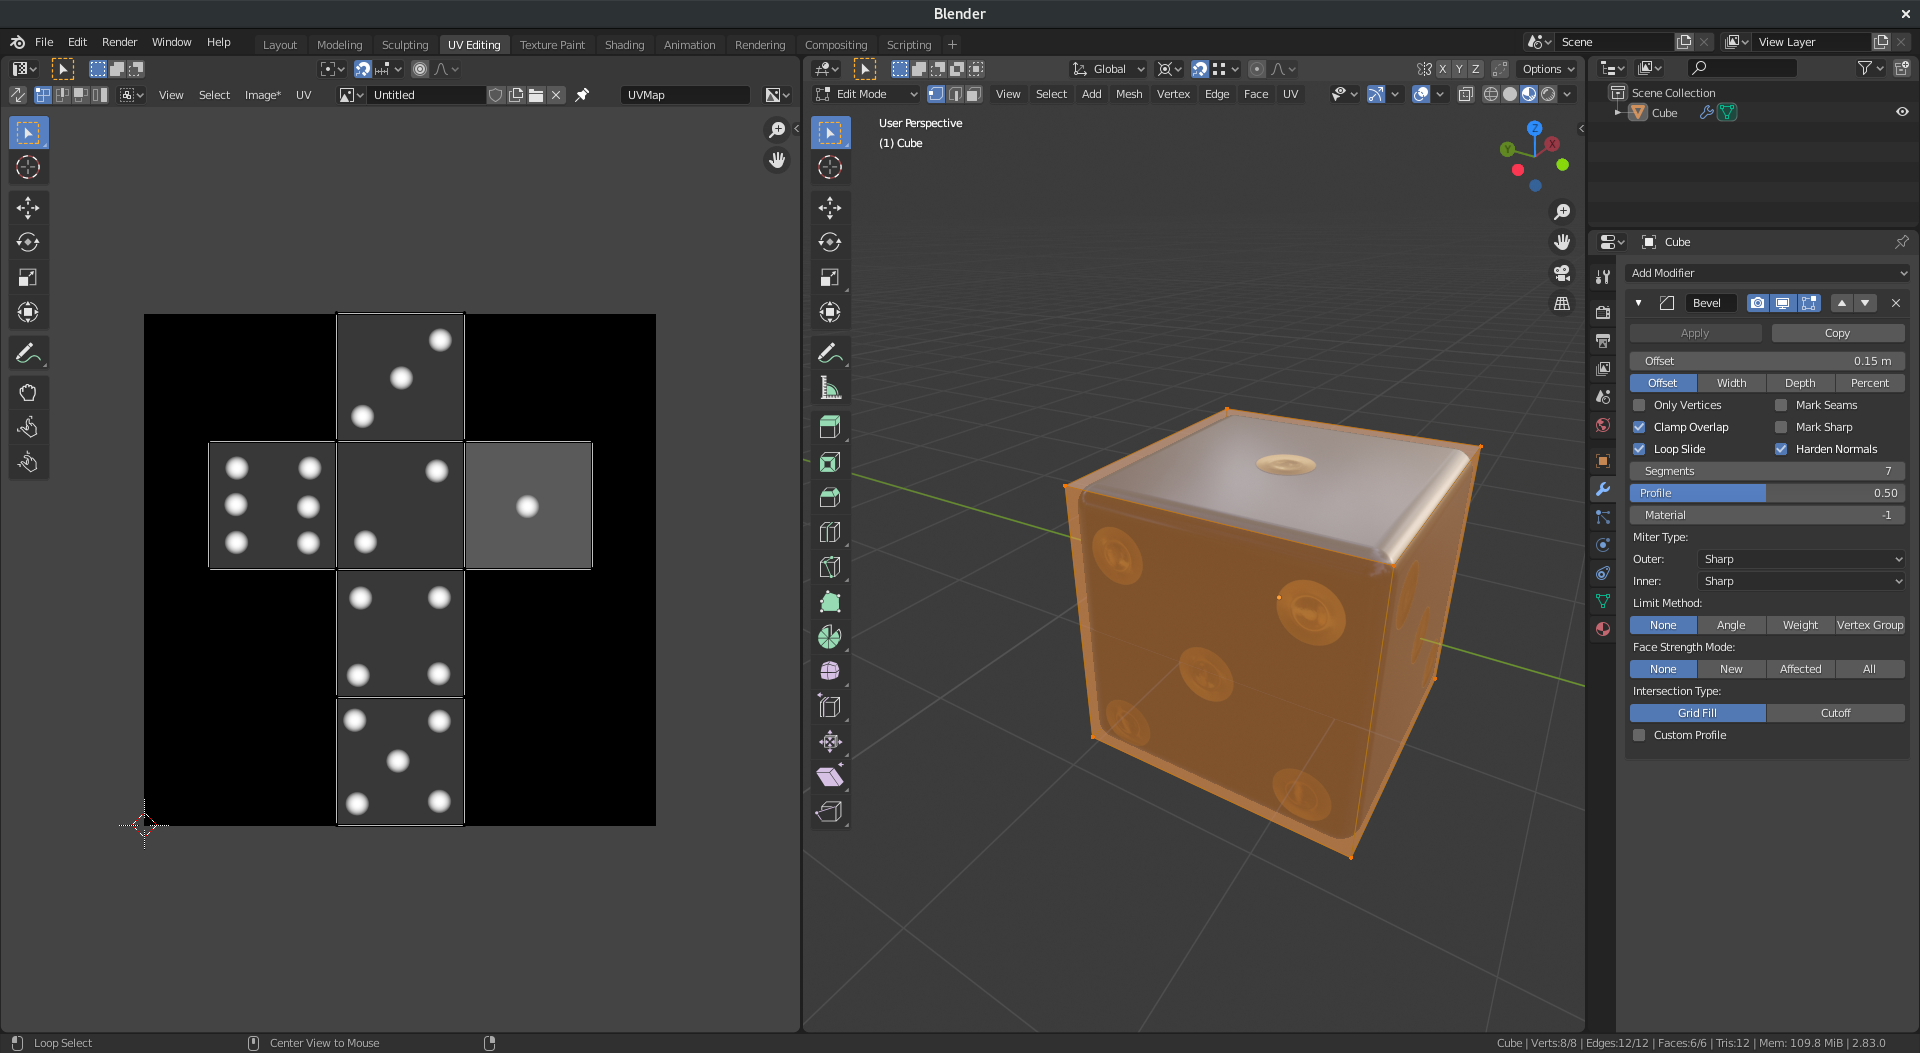
2D-UV Map showing dice dot texture side by side with 3D View showing the texture mapped to the 3D mesh.
0 to 1 UVW Space
The UVW Space is often displayed as a 2-dimensional cartesian coordinate system. 2 Axis both have negative and posite sections creating four quadrants. Almost all the time our UV-Unwrap and all its vertices will be in a square that spans from 0 to 1 unit in X and Y.
This Square is most often referred to as the 0 to 1 UVW-Space or Square.
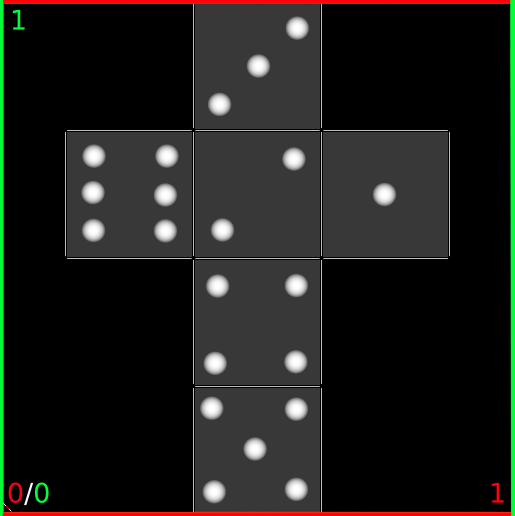
The 0 to 1 UVW-Space filled with the UV-Unwrap of a 3D Cube
Hint
Most bitmap textures that we load will repeat themselves in both directions (X and Y) after 1 unit in the UVW-Space (I.e outside the 0 to 1 Space)
UVW Islands or Shells
We can connect our UVW-Space vertices exactly like we can connect/weld our 3D-Space vertices. Using this we can form groups of vertices that are connected together. These groups of vertices,edges and faces are often called UVW Islands or Shells.
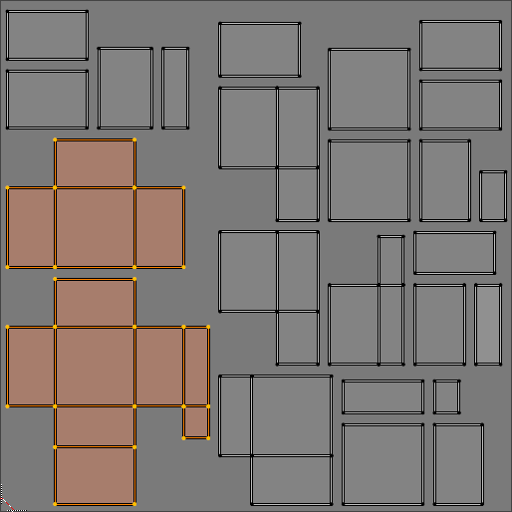
Image showing UVW-0 to 1 Space with 2 UV-Shells selected on the bottom left
The UV Editing Workspace
The UV Editing Workspace splits our Pane into the UV Editor and the 3D Viewport. With these two editors side by side we can now use the UV Menu in the top left of each editor to access all of the UV-Tools and commands.
- Blender Manual Link:
- Blender Manual | UV Editor
Material Nodes
Editing of Materials and their nodes happens in the Shading Workspace. Here you can construct Material Node Trees that describe your surface or volume materials. Below there is a small subset of Nodes to help get you started.
Adding Nodes
Hotkey: Shift + A
You can add nodes to a Material in the Shader Editor Node Graph by using the Add menu in the top bar or by pressing the Hotkey: Shift + A and then choose a node from one of the categories.
ImageTexture Node
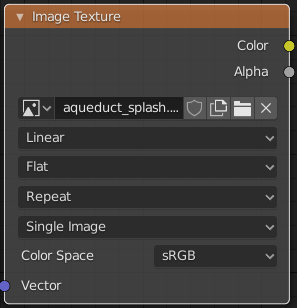
The ImageTexture Node is used to load textures in form of bitmaps/images from a file.
Warning
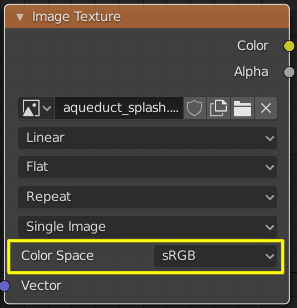
The Color Space dropdown menu that appears in the ImageTexture Node as soon as an image is loaded is very important!
Wrong Colorspace settings will lead to shading errors!
Heres a small list of rules on how this should be set:
- If your Image contains Color-Data (RGB-Colors, BaseColor Texture) leave it on sRGB
- If your Image contains non-Color-Data (Masks, NormalMaps, Displacement) set it to Non-Color
For information on all of the different settings of the node please consult the Blender Manual.
- Blender Manual Link:
- Blender Manual | Image Texture Node
Texture Coordinate Node
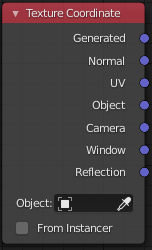
The Texture Coordinate node supplies different ways of mapping 2D Textures to 3D Geometry and is most often used together with the Mapping Node. (outlined below)
For information on all of the different settings of the node please consult the Blender Manual.
- Blender Manual Link:
- Blender Manual | Texture Coordinate Node
Mapping Node
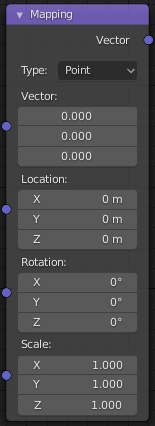
The Mapping nodes enables you to Position, Rotate and Scale a 2D Texture on a 3D Mesh by modifying its Mapping. With this node you can quickly tile textures over your meshes by adjusting their size.
For information on all of the different settings of the node please consult the Blender Manual.
- Blender Manual Link:
- Blender Manual | Mapping Node
Note
The TextureCoordinate, Mapping and Image Texture Node are often used in conjunction like this:
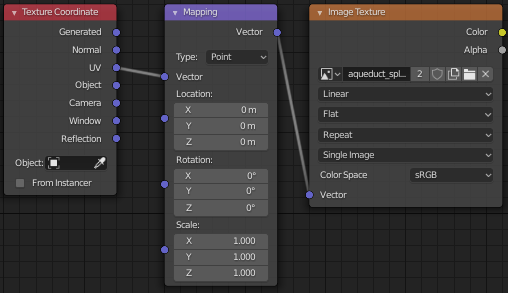
MixRGB Node
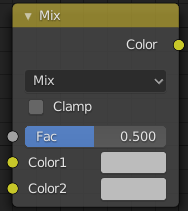
The Mix Node enables you to blend between its two inputs, which can be Colors or Textures. It features a variety of blending modes that are very similar to those found in Adobe Photoshop.
For information on all of the different settings of the node please consult the Blender Manual.
- Blender Manual Link:
- Blender Manual | MixRGB Node
NormalMap Node
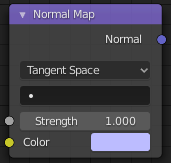
The Normalmap nodes takes a Image Texture Node with a loaded normal map texture as an Input and can be plugged into the Normal Input of the Principled BSDF Material to create bumps and dents in a surface.
For information on all of the different settings of the node please consult the Blender Manual.
- Blender Manual Link:
- Blender Manual | NormalMap Node
Noise Texture Node
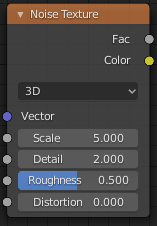
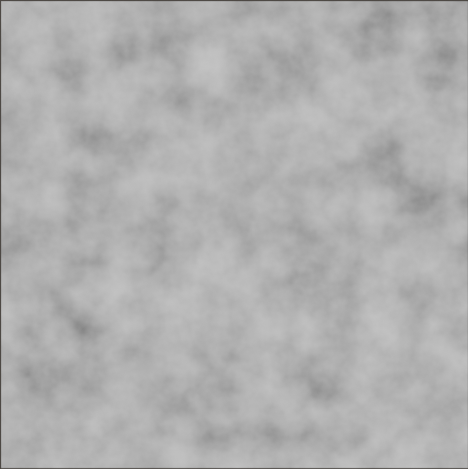
A Procedural Node that creates random perlin noise. It’s great for organic looking effects and tiles in all axis automatically. Since it’s a true 3D procedural using all coordinates of the UVW-Space it can be used without a UV-Unwrap in most cases.
For information on all of the different settings of the node please consult the Blender Manual.
- Blender Manual Link:
- Blender Manual | Noise Texture Node
Wave Texture Node
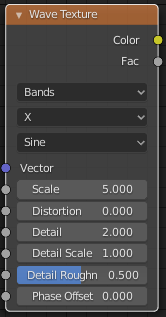
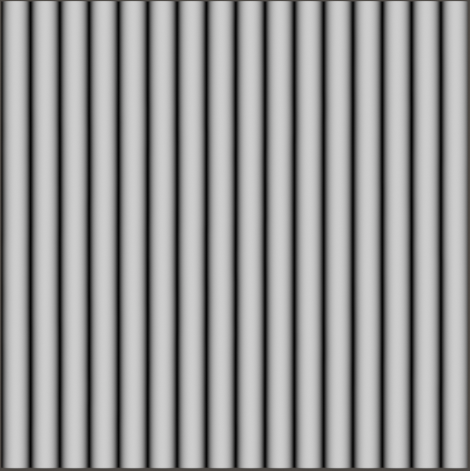
A procedural node that creates Waves. It’s great for scanlines on screens, fabric or wood and other materials with repepetitive elements. It also tiles in all axis automatically. Since it’s a true 3D procedural using all coordinates of the UVW-Space it can be used without a UV-Unwrap in most cases.
For information on all of the different settings of the node please consult the Blender Manual.
- Blender Manual Link:
- Blender Manual | Wave Texture Node